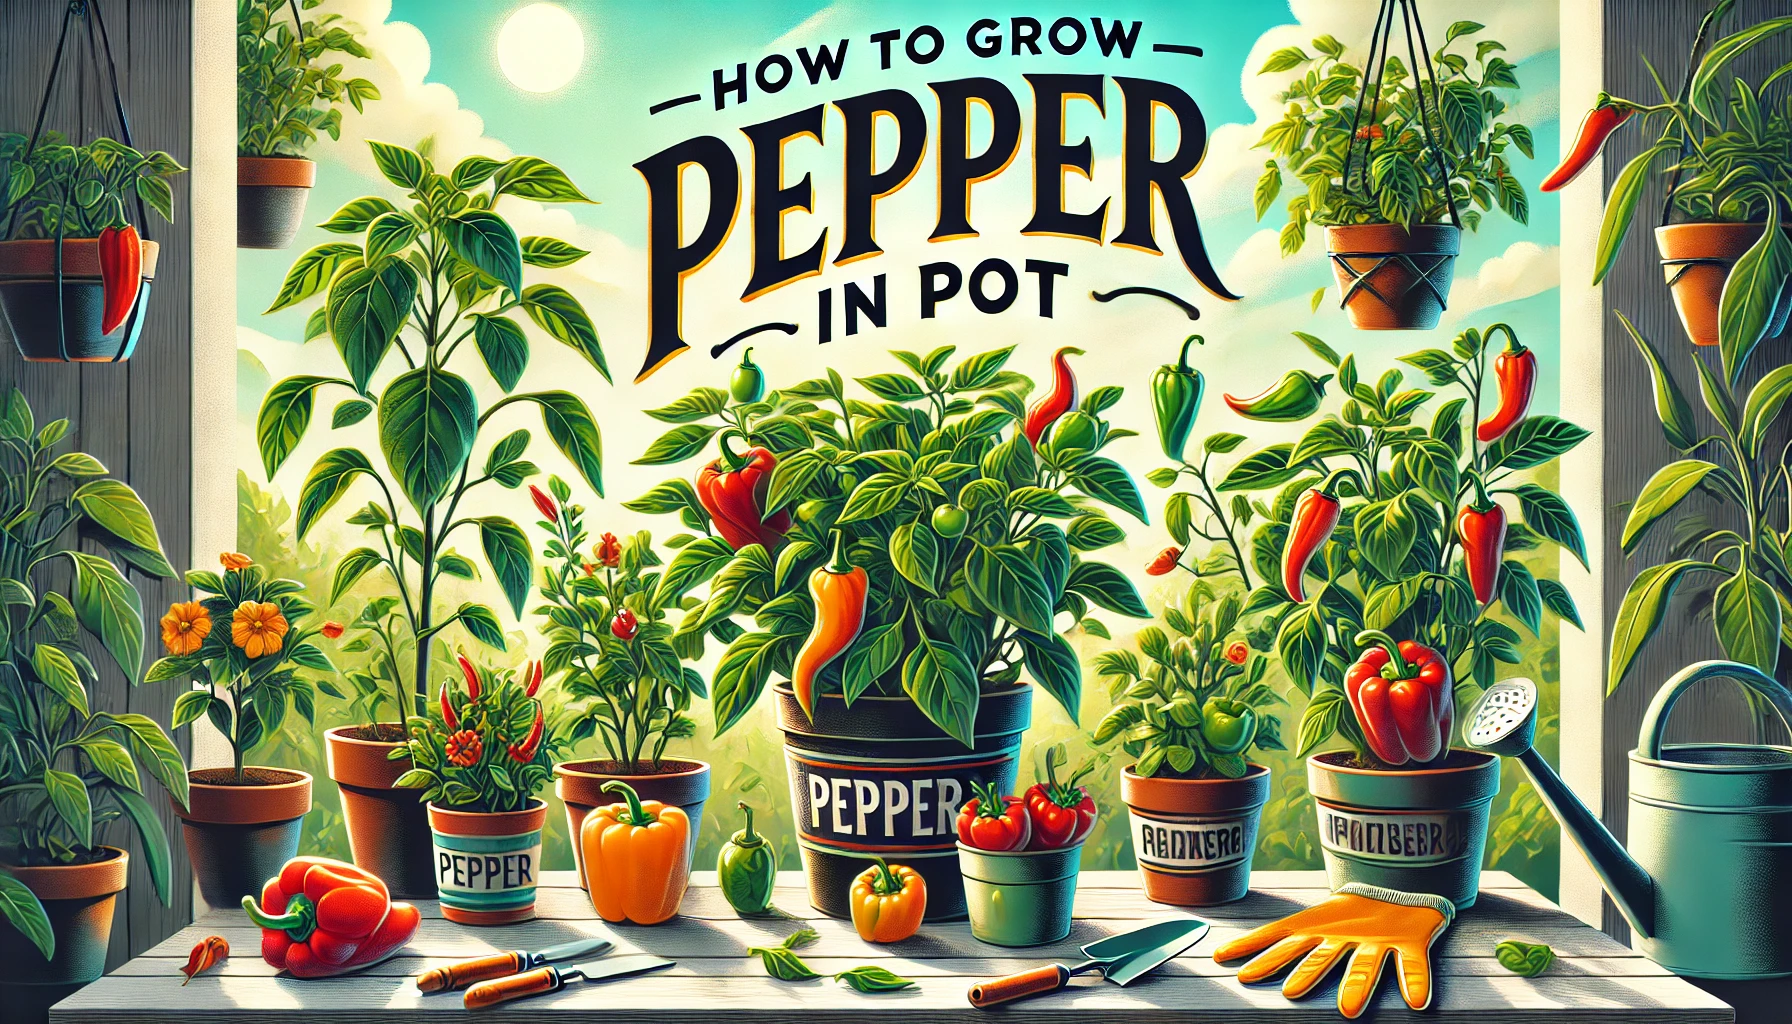
Pepper plants, known for their vibrant colors and spicy or sweet flavors, are a versatile addition to any garden. Grown for both culinary and ornamental purposes, peppers thrive in a variety of climates and conditions. Growing peppers in pots is an excellent option for those with limited garden space, as it allows for greater control over soil quality and environmental conditions. With the right care, pepper plants can produce a bountiful harvest even in small spaces.
Ideal Pot Size for Pepper Plants
The ideal pot size for growing pepper plants is at least 3-5 gallons in volume. This size allows enough space for the root system to develop and supports healthy plant growth. A pot with a diameter of 12-14 inches and a depth of 10-12 inches is perfect for most pepper varieties.
Weather Conditions for Pepper Plants
| Weather Condition | Optimal Range |
|---|---|
| Temperature | 70-85°F (21-29°C) during the day; not below 60°F (15°C) at night |
| Humidity | 50-70% |
| Sunlight | Full sun, at least 6-8 hours a day |
| Wind Protection | Moderate, avoid strong winds |
Choosing the Right Seeds
- From the Shop: Select seeds from reputable brands known for high germination rates. Look for seeds labeled as disease-resistant and suited for your growing zone.
- Collecting and Preserving Seeds: Choose healthy, ripe peppers from strong plants. Remove seeds, spread them on a paper towel, and let them dry in a cool, dark place for about a week. Store the dried seeds in an airtight container in a cool, dark location until ready to plant.
Growing Seedlings from Seeds
- Prepare the Soil: Use a seed-starting mix or a mix of peat moss, vermiculite, and perlite.
- Sow Seeds: Plant seeds 1/4 inch deep in seed trays or small pots. Space seeds about 1-2 inches apart.
- Water: Moisten the soil but avoid waterlogging. Cover with plastic wrap or a humidity dome to retain moisture.
- Germination: Place the trays in a warm area (75-80°F). Seeds should germinate in 7-14 days.
- Light: Once seedlings emerge, provide them with 12-16 hours of light daily using grow lights or place them in a sunny window.
- Transplant: When seedlings have 2-3 true leaves, they are ready for transplanting into larger pots.
Nutrition Requirements for Pepper Plants
| Nutrient | Function | Source/Type |
|---|---|---|
| Nitrogen (N) | Promotes leafy growth | Compost, fish emulsion |
| Phosphorus (P) | Supports root and flower development | Bone meal, rock phosphate |
| Potassium (K) | Enhances overall plant health | Kelp meal, wood ash |
| Calcium (Ca) | Prevents blossom end rot | Gypsum, crushed eggshells |
| Magnesium (Mg) | Essential for photosynthesis | Epsom salt |
Organic Soil Mix for Pepper Plants
| Ingredient | Amount | Ratio |
|---|---|---|
| Garden Soil | 2 parts | 40% |
| Compost | 1 part | 20% |
| Coco Coir/Peat Moss | 1 part | 20% |
| Perlite | 1 part | 20% |
How to Make the Ideal Soil Mix:
- Combine Ingredients: Mix 2 parts garden soil, 1 part compost, 1 part coco coir or peat moss, and 1 part perlite in a large container.
- Blend Well: Ensure all components are evenly distributed to create a light, well-draining soil mix.
- Test: Check the pH of the soil mix to ensure it is between 6.0 and 6.8. Adjust if necessary.
Special Instructions for Pot Drainage
- Ensure the pot has adequate drainage holes at the bottom.
- Place a layer of small stones or gravel at the bottom of the pot to improve drainage.
- Use a well-draining soil mix to prevent waterlogging and root rot.
Transferring Seedlings from Tray to Pot
- Prepare the Pot: Fill the pot with the prepared soil mix up to about 2 inches below the rim.
- Create a Hole: Make a hole in the center of the soil mix large enough to accommodate the seedling’s root ball.
- Transplant Seedling: Gently remove the seedling from the tray, handling it by the leaves, not the stem. Place it in the hole and cover the roots with soil.
- Water: Water the seedling thoroughly to settle the soil around the roots.
Growth Stages and Care
- Early Growth (Weeks 1-4):
- Watering: Keep the soil consistently moist but not soggy.
- Fertilizing: Apply a balanced, organic fertilizer every 2 weeks.
- Pruning: Remove any weak or yellowing leaves.
- Vegetative Stage (Weeks 5-8):
- Watering: Increase watering as the plant grows, ensuring the soil stays moist.
- Fertilizing: Continue with a balanced fertilizer, switching to a formula higher in phosphorus and potassium as flowering begins.
- Support: Stake the plants if necessary to support their growth.
- Flowering and Fruiting (Weeks 9-16):
- Watering: Water deeply and consistently, especially during fruiting.
- Fertilizing: Use a fertilizer high in potassium to support fruit development.
- Pruning: Remove any suckers or excess foliage to direct energy to the fruits.
Special Instructions for Growing in a Pot
- Location: Place pots in a location that receives at least 6-8 hours of sunlight daily.
- Temperature Control: Protect plants from extreme temperatures by moving pots indoors or to a sheltered location if necessary.
- Pest Control: Monitor for pests like aphids and spider mites, using organic treatments if needed.
Harvesting and Preserving Peppers
- Harvesting: Peppers are ready to harvest when they reach the desired size and color. Use sharp scissors or a knife to cut peppers from the plant, leaving a small portion of the stem attached.
- Preserving:
- Drying: String peppers and hang them in a well-ventilated area until completely dry.
- Freezing: Wash and dry peppers, then cut into pieces and freeze in airtight containers or bags.
- Canning: Follow proper canning procedures to preserve peppers in vinegar or brine.
Growing peppers in pots is a rewarding endeavor that can yield a generous harvest with the right care and attention. By following these guidelines, gardeners can enjoy fresh, homegrown peppers even in small spaces.